Bypassing VMProtect/Themida VM checks in VMware
If you have ever tried reverse-engineering a random malware sample or a game cheat, chances are you have worked with obfuscated binaries through VMProtect or Themida. Both of these tools offer anti-VM protections. However, these protections are not super complex and check only for basic things, like whether the hypervisor bit is set when CPUID is called and for SMBIOS strings. Both can be spoofed without the need to load anything in the guest OS, as the VmwareHardenedLoader project does, for example.
Creating new VM
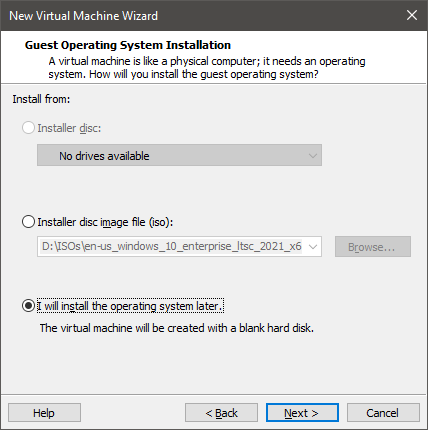
When creating a new virtual machine, make sure not to select the installation ISO file right away, as that would enable Windows Easy Install, which in turn would install the VMware tools.
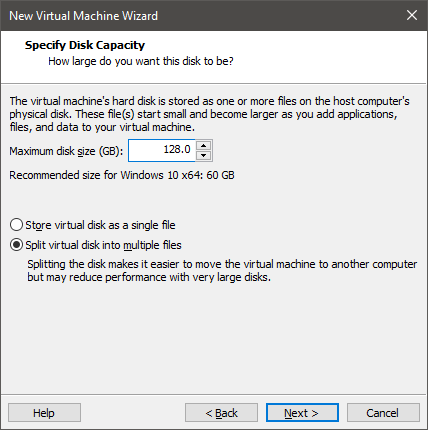
Allocate disk with at least 128 GBs of memory.
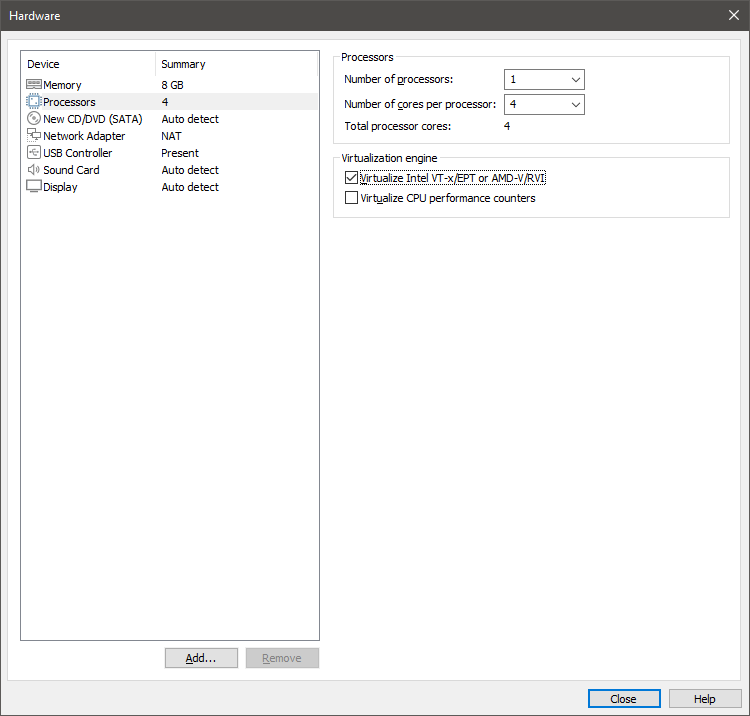
In the hardware customization options, make sure to check ‘Virtualize Intel VT-x/EPT or AMD-V/RVI’.
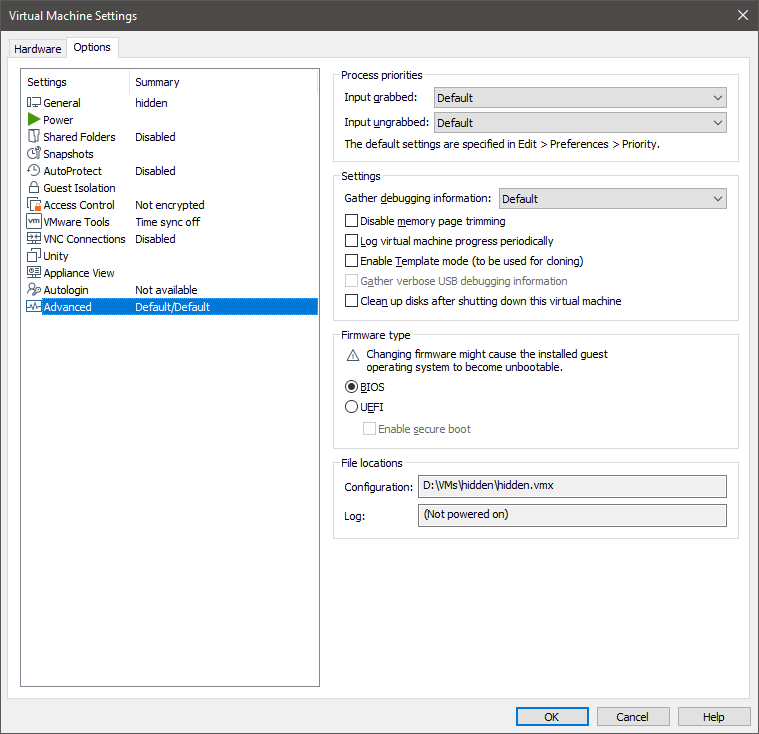
Finish the setup wizard, then go to the VM settings, and switch ‘Firmware type’ to ‘BIOS’.
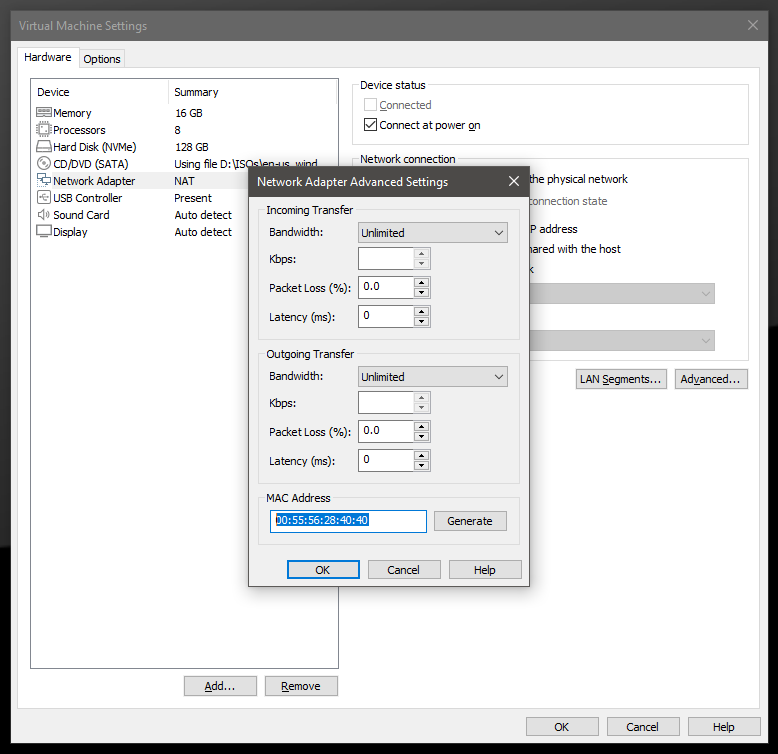
Change the MAC address to not start with 00:05:69, 00:50:56, 00:1C:14, or 00:0c:29.
Then, add the installation ISO file and install the system as usual. Do not install VMware Tools when asked to.
Patching BIOS ROM
The VMware BIOS ROM contains strings related to VMware and virtualization. Patching the ROM is quite simple, though not as straightforward as merely HEX editing the ROM file, as this would corrupt the internal checksums in the file.
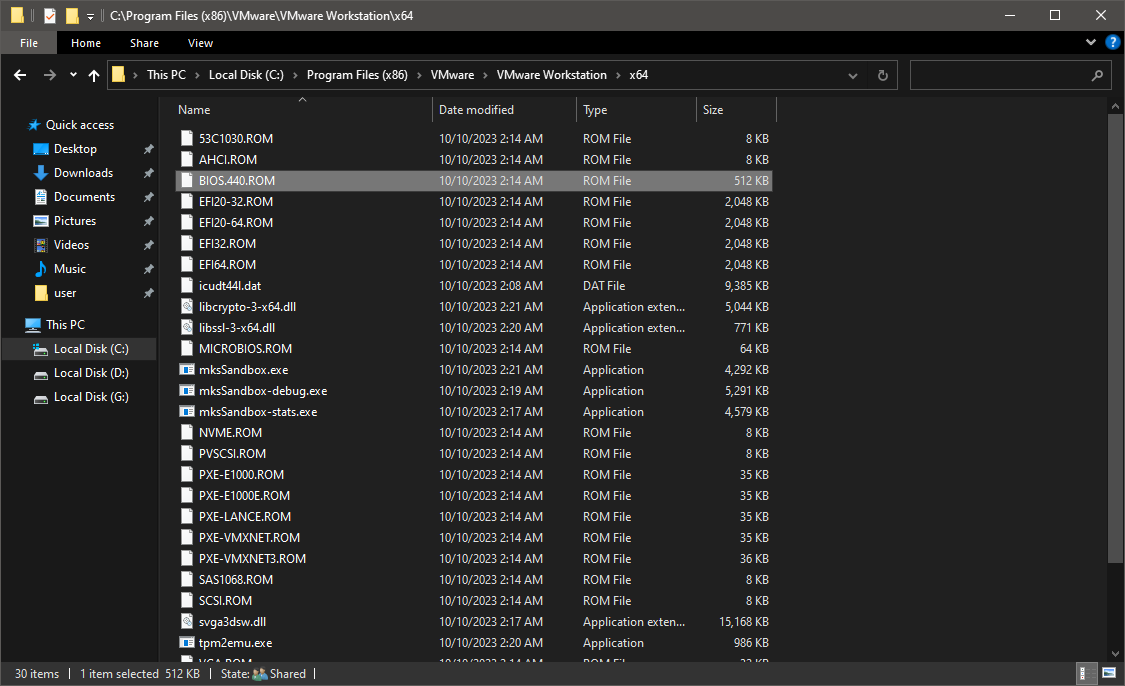
The ROM file is located in the VMware Workstation/Player installation directory, specifically in the x64 subdirectory. By default, this is C:\Program Files (x86)\VMware\VMware Workstation\x64.
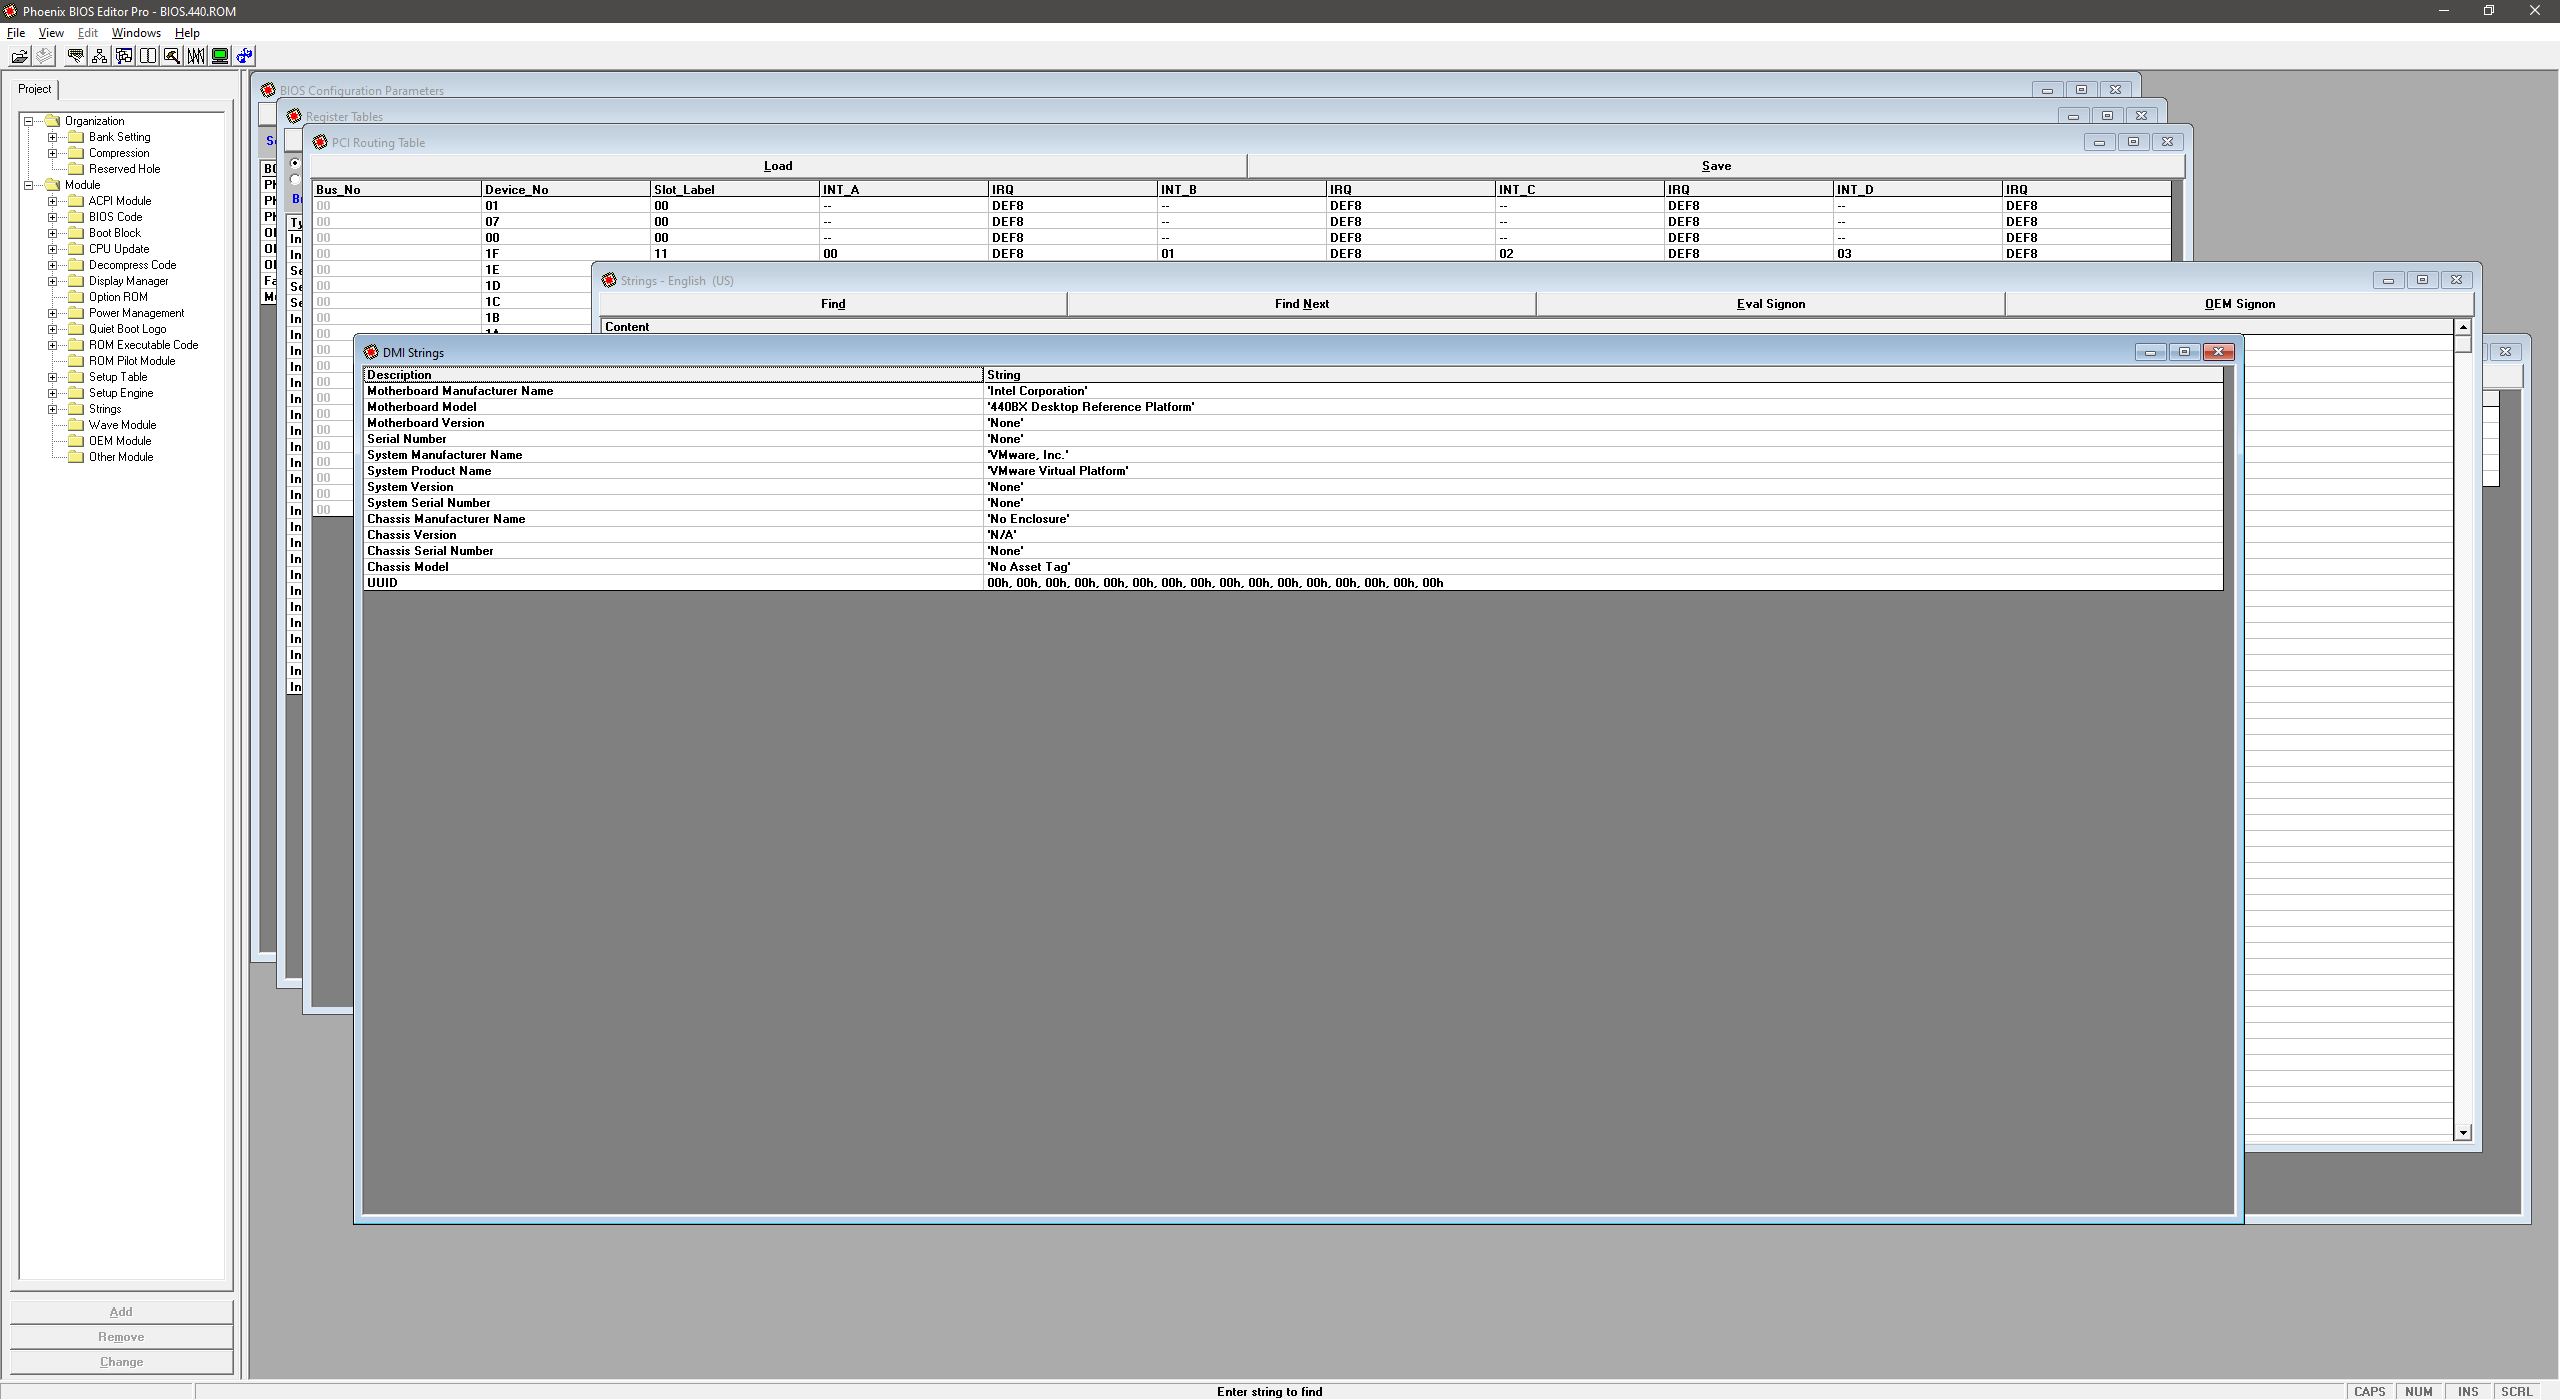
To patch this file, we can use Phoenix BIOS Editor. Simply open the file in the editor, find the ‘DMI Strings’ window and change the values so they don’t contain ‘VMware’ or ‘Virtual Platform’.
Then, go to File -> Build BIOS and save the patched BIOS somewhere. Do not overwrite the original file.
Editing the VMX file
Navigate to the directory where your VM is stored. There should also be a file named <vmname>.vmx. Open this file in a text editor.
In order to use the patched BIOS file, add new line to the end.
bios440.filename = "G:\<path_to_your_bios_file>\BIOS.440.PATCH.ROM"
Also add few more important things. Disable hypervisor presence reporting when CPUID is executed.
hypervisor.cpuid.v0 = "FALSE"
Disable instructions that could be used for timing attacks (this won’t be that much helpful since we will exit on CPUID anyway) and VMware backdoors.
monitor_control.restrict_backdoor = "TRUE"
monitor_control.disable_directexec = "TRUE"
monitor_control.disable_chksimd = "TRUE"
monitor_control.disable_selfmod = "TRUE"
monitor_control.disable_ntreloc = "TRUE"
monitor_control.disable_reloc = "TRUE"
monitor_control.disable_btmemspace = "TRUE"
monitor_control.disable_btpriv = "TRUE"
monitor_control.disable_btinout = "TRUE"
monitor_control.disable_btseg = "TRUE"
isolation.tools.getVersion.disable = "TRUE"
isolation.tools.setVersion.disable = "TRUE"
isolation.tools.getPtrLocation.disable = "TRUE"
isolation.tools.setPtrLocation.disable = "TRUE"
Enable host SMBIOS copying. While this might seem redundant since we have patched the BIOS ROM, certain strings will get replaced by default VMware strings again if we don’t set this option.
smbios.reflectHost = "TRUE"
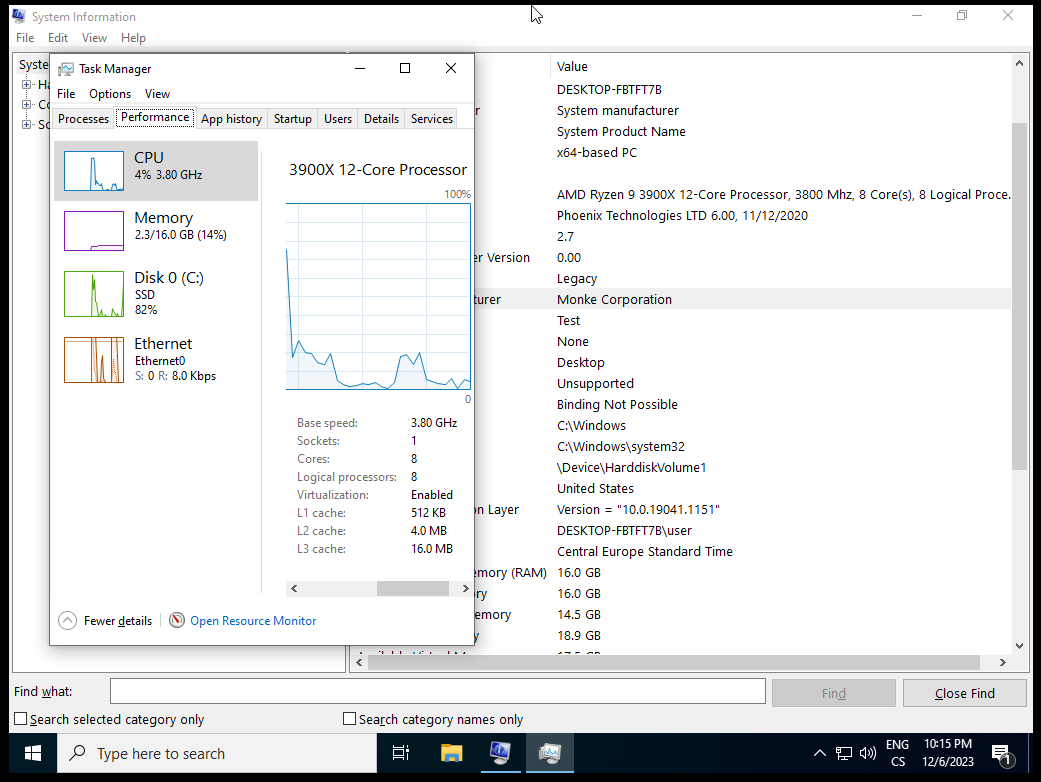
Now you can boot the VM. You should not see any VMware related strings in System Information, and Task Manager should not report that it is a virtual machine.